Do you celebrate Halloween on October 31th? Then you should definetely read our guide for children with fun and interesting facts and ideas about Halloween.
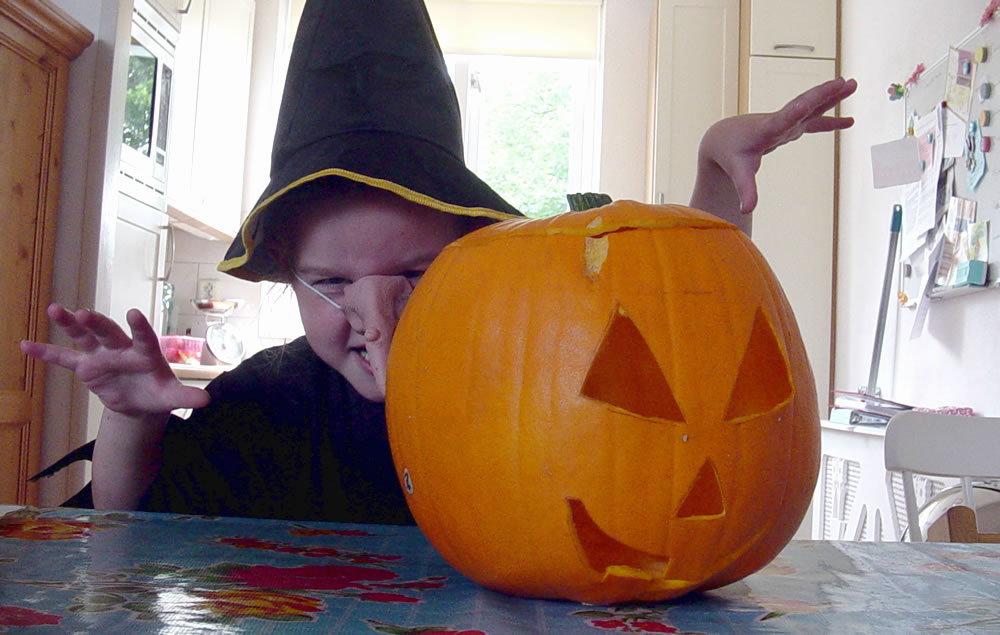
Halloween pumpkin
The carving of a pumpkin is one of Halloween’s most popular traditions. We have carved a pumpkin too ourselves. Every year, we carve a nice big pumpkin in the days before Halloween, to put in the yard with a little light in its belly.
Do you want to carve a pumpkin too? Read the following tutorial to do so.
What do you need to carve a pumpkin?
- a pumpkin
- a knife or a set of hobby knives (for if you want to carve a complicated pumpkin)
- a spoon
- a pen or a marker
- a template to carve a Halloween figure from
- tealights
How to carve a pumpkin
First of all, you need a pumpkin to carve. Preferably a nice big pumpkin!
Use a knife to carve the top of the pumpkin. Be careful, make sure you don’t cut yourself. It is very considerate to have an adult nearby to help you.
Have you lifted to scalp of the pumpkin? Good. Now you can see that the inside of the pumpkin is filled with seeds. All these seeds need to be removed.
Remove the top part of the pumpkin you just carved loose. Remove all the seeds inside the pumpkin with a knife or a spoon. For this, it is best to use a big spoon.
We are not only going to hollow the pumpkin out, we are also going to give the pumpkin a face by carving out eyes and a mouth. Of course you can just begin with cutting out the eyes and a mouth, but it is better to mark the eyes and the mouth on the pumpkin in advance. This way, there is a smaller chance you carve the proportions of the face wrong. So draw with a pen or a marker the eyes and a (in my case an evil) mouth on the pumpkin. Don’t worry, it doesn’t matter if you don’t draw the face correctly: you can simply wipe these lines away later. The face of the pumpkin in this example is simple. If you’d like a more difficult design, you can find here a lot of templates. Print the template and draw the form on the pumpkin. After that, you carve away the parts that are black.
Carve out the mouth of the pumpkin with a knife. Then push the loose part carefully out of the pumpkin.
After the mouth, we start carving the eyes. These too you have to cut out carefully.
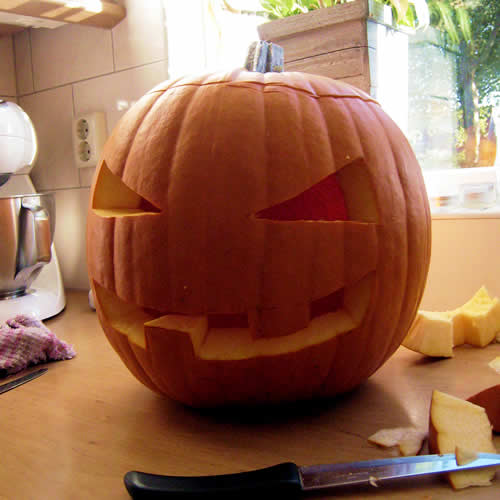
Your Halloween pumpkin is ready! The eyes and mouth are neatly carved. Put the top back on the pumpkin and you can place the pumpkin outside. And don’t forget to light it in the evening with a tealight.
Background on Halloween
Halloween is the party of witches, vampires, ghosts, zombies and other creeps, but you know that already. But where does Halloween come from? How did the famous traditions of trick-or-treating and jack-o’-lanterns start?
All Hallow’s Eve
Halloween is an annual party that is celebrated on October 31th. The word Halloween is a deterioration of All Hallow’s Eve. All Hallow’s Eve is a Catholic celebration for hagiolatry.
Origin
However, Halloween is not from the Catholic church, but finds its origin in earlier times, Celtic Ireland in the 5th century BC. On October 31th, they celebrated Samhain, the Celtic version of New Years Eve. According to the myths, the ghosts of the deceased came back on that day to possess the bodies of the living. From fear of the dead, people put out the lights and fires in their homes to make their homes unattractive to the ghosts. They also dressed up to make themselves unrecognizable en they made a lot of noise in order to chase the ghosts away.
The Celtic Samhain was later taken over by others – first the Romans, then the Catholic church. Because people then weren’t as superstitious as the Celtics, Halloween became more of a ritual, and so did the dressing up.
In the first half of the 19th century many people from Ireland travelled to America. They introduced Halloween in the United States, where Halloween became a very popular celebration.
Bonfires
Nowadays, it is a less known and less popular part of Halloween, but in the past bonfires were very important. Bonfires are big fires. Originally, these fires were called ‘bone fires’: fires where bones were burned in. Today, they are just big fires.
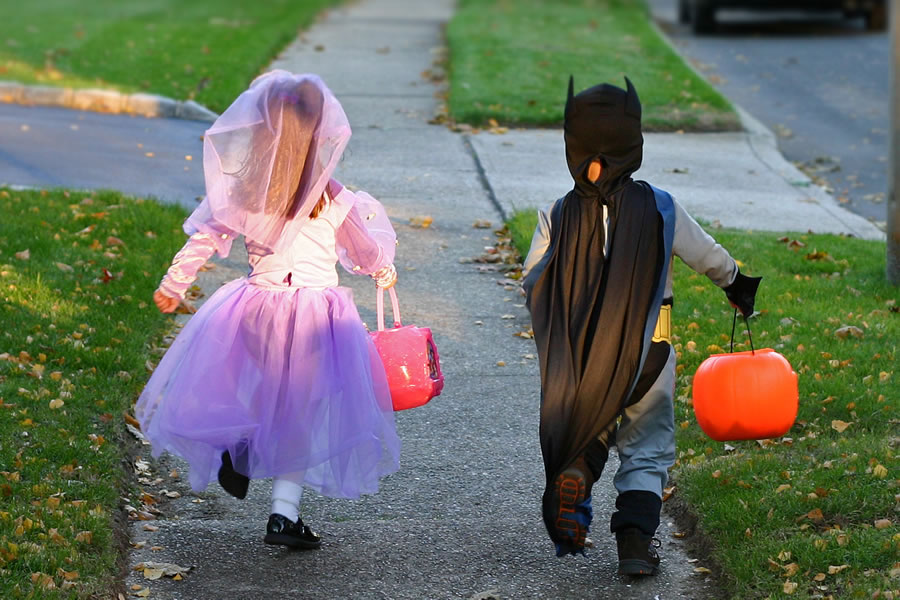
Trick or treat
The tradition of trick-or-treating, where children go by houses for candy, is not from Ireland. Trick-or-treating is probably a remnant of a 9th century tradition from Europe: souling.
On November 2nd, it’s All Soul’s Day. On this day, it was common to travel from village to village to beg for soul cakes. Soul cakes are square pieces of bread with dried grapes. The more soul cakes they got, the more prayers the beggars promised to say for deceased family members of the givers. It was common belief that each prayer, even from a stranger, would help the dead find their way to heaven.
Lanterns
The use of lanterns, so called Jack-o-lanterns, is based on an old Irish folk tale. An Irish legend about Jack, who was known as a boozer and an imposter. Jack tricked the devil to climb into a tree. Then he carved a cross in the tree, so the devil couldn’t get out anymore. He only released the devil when he promised never to bother Jack again. After his death, Jack was denied entrance to heaven, but he wasn’t welcome in hell either because of his trifle with the devil. He was condemned to roam forever, with a little flame in a hollow turnip as the only light on his path. The Jack-o-lantern is the remnant of this legend, but the turnips were replaced with pumpkins after a while.
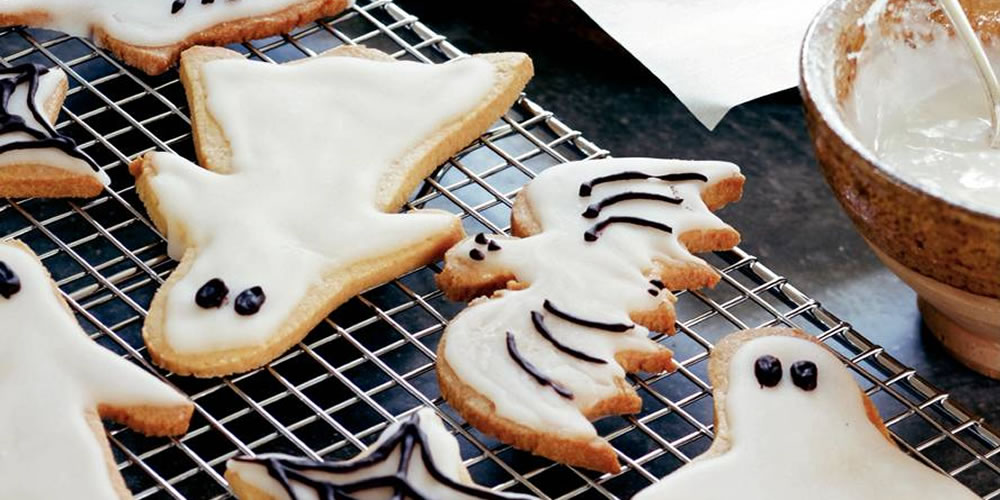
Ghost cookies
Trick or treat. Passing out candy is a part of Halloween. What’s also fun? To bake delicious ghost cookies on October 31th.
In honor of Halloween you can bake – with some help from your parents – something nice. How about you own ghost cookies?
They are fun to make. They look funny. And they taste delicious.
What do you need ?
- 175 gramme butter (melted)
- 200 gramme sugar
- 2 beaten eggs
- 1 spoon of cinnamon powder
- 400 gramme flower, sifted and extra flower to pollinate
- 1 can of powdered sugar
- 1 spoon of cacao powder
- baking paper
- a rolling pin
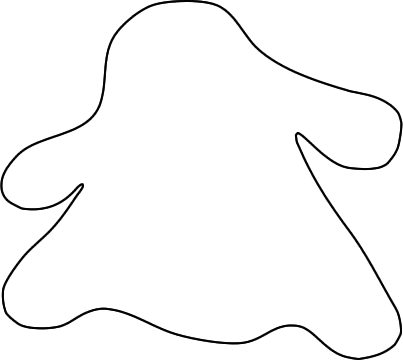
- mould of a ghostly figure
How do you make the ghost cookies?
Preheat the oven on 200 degrees Celsius.
Whip the butter and the suger together and then whip the eggs through it. Knead the dough and put flower in it, and a spoon of salt.
Pollinate the counter and the rolling pin with flower and roll out the dough until it’s about 0,5 centimetre thick. Place the mould (see below for an example) on the dough and cut it out. Put the cut out pieces of dough on a with baking paper covered griddle and place the cookies in the oven. The cookies have to bake approximately 12 minutes in the oven.
Let the ghost cookies cool off. In the meantime, whip 2 to 3 spoons of water through the powdered sugar to make a thick, viscous sugar paste. Use a spoon to cover the cookies with a layer of this sugar paste (the frosting). Then let the frosting dry.
Whirl a spoon of cacao powder through the remaining frosting. Use a cocktail pick, dip it in the brown frosting and carefully draw the eyes of the ghost cookie.
Party?
A witch party is a perfect fit for Halloween.
We once made a program with activities, written when Lara celebrated her birthday and wanted to throw a witch party.
Of course, witches fit well with Halloween. So if you’d like to organise a party with Halloween, these witch party tips might come in handy.
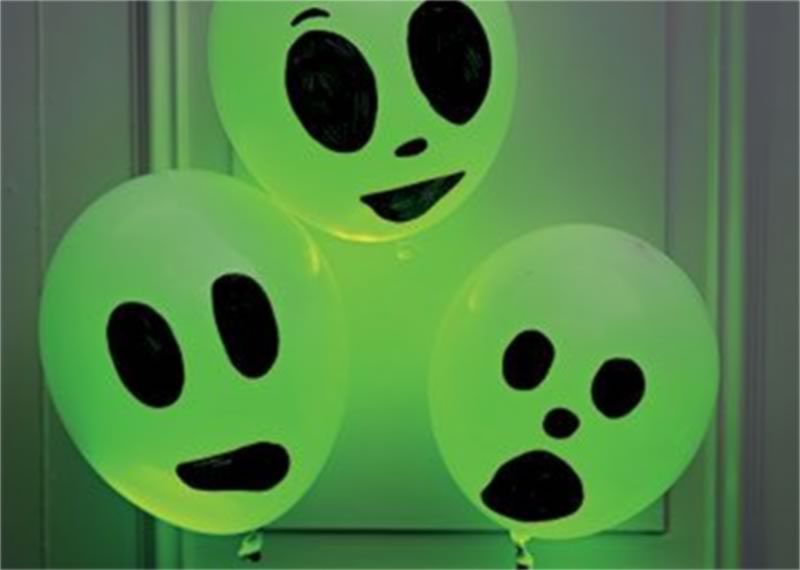
Decorations
Decorate your house with creepy illuminated balloons, that you can tie to you door, for example. Put a glow-in-the-dark stick in a balloon, blow the balloon and then draw a creepy face on the balloon with a marker.
Witch potion
Give your guests a witch potion in a bottle. You can use brightly colored lemonade for this, orange or green for example.
You can give all the little witches their own bottle with their name on it. You can use little bottles for this if you peel off the old label and put on a new one, for example with the childs’ name on it.
Food
You serve a cup of yelly with an eyeball in it. You can buy edible eyeballs like that in many candy stores.

Activities
During a witch party, you can let the children do something themselves, of course. You can think of:
- Bob for snakes – just like bobbing for candy, but then with sour mats
- Flying on a witch broom and throwing little bags in a bucket. Make an action photo of each witch in action.
- Scrambling in a jar of worms and eyeballs – let the witches scramble in the jar one by one, blindfolded. The worms are really wisps of boiled spaghetti and the eyeballs are really small onions.
- Make a magic potion. With 2 spoons of water, 2 spoons of baking soda and 2 spoons of vinegar in a glass jar the witches can make a fuming potion. You can use some food coloring to make the magic potion look a little bit more poisonous.
- What about the taste of the witches? Let the witches taste what is in the cup while blindfolded: peanut butter, sugar, mustard, mayonaise and ketchup.
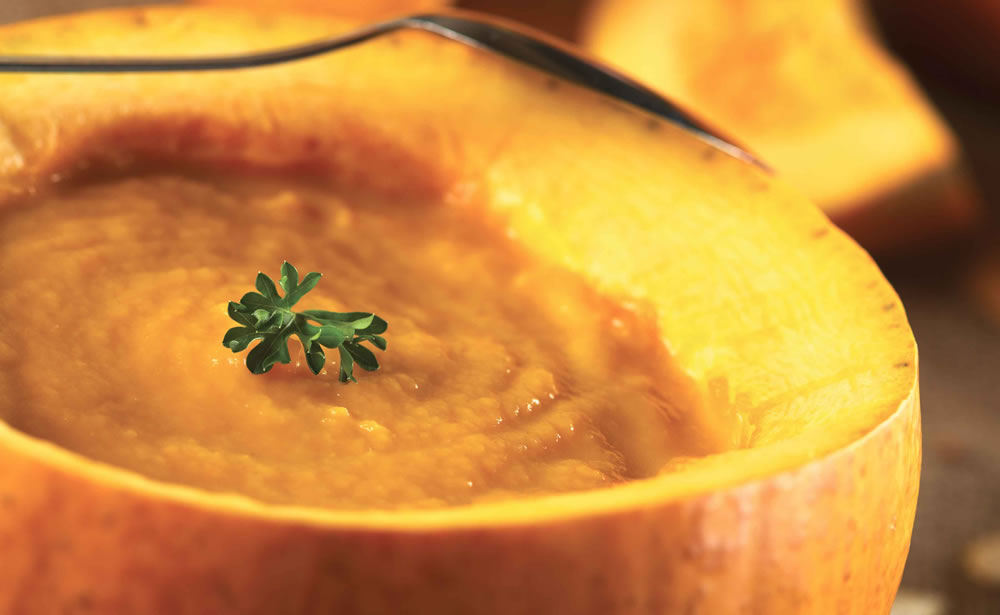
Pumpkin soup
Although they can taste different, all pumpkins are edible. So if you have a spare one you’re not going to turn into a lantern, you can always use it to make something delicious: pumpkin soup for example.
What do you need?
- 300 gram pulp of a pumpkin (you can get this by peeling a pumpkin, removing the seeds and cutting it in pieces)
- One litre chicken bouillon (make of tablets)
- Half a spoon of brown caster sugar
- A teaspoon of nutmeg
- One decilitre of cream
How do you make it?
Peel the pumpkin, remove the seeds and cut the pulp in pieces.
Put the pieces of pumpkin in the chicken bouillon and make it boil.
Boil the pumpkin in approximately 20 minutes.
Mash the pumpkin with a stick blender. After that, you shouldn’t be able to see any bigger pieces. Add a nice taste to the soup with the sugar and nutmeg and whip the cream through the soup.
How to preserve your pumpkin
When you’ve carved a nice pumpkin, you want to conserve it as long a possible, of course. Below you can see a couple of tips to prolong the preservability of your Halloween pumpkin.
Chlorine
Dip your pumpkin a couple of minutes in a bucket of water, with a little bit of chlorine in it. The chlorine makes sure the pumpkin doesn’t get mouldy. After you’ve taken the pumpkin out of the water, dry it on the inside and the outside.
Keep it in a dark place
If you keep the pumpkin in the sun, it will very quickly start to dry out and shrivel, so keep the pumpkin on a dry and cool place so it will be preserved longer.
Vaseline
Smear vaseline on the edges of the pattern you’ve cut out. This makes sure the pumpkin does not dry out and shrivel as quickly.
Soap
Smear soap on the inside of your pumpkin.
Sunflower oil
By covering the outside of the pumpkin in sunflower oil, it will be preserved longer. Additionally, it will gleam nicely because of it.
Hairspray
Spray the pumpkin with hairspray. Because of this, it will take longer before the pumpkin gets mouldy.
Dip it in cold water
In a warm and dry environment, your pumpkin will get dry very soon. And then it will start to shrivel. By placing the pumpkin in a bucket of cold water for a couple of hours, the pumpkin will swell up a bit.
Halloween colouring sheets
On Leuk voor Kids are a lot of Halloween coloring pages, so for a cool, creepy coloring page of Halloween you’ve come to the right place. Below, you can see a few nice ones. If you click on the coloring page, you can see the big version in a new tab.

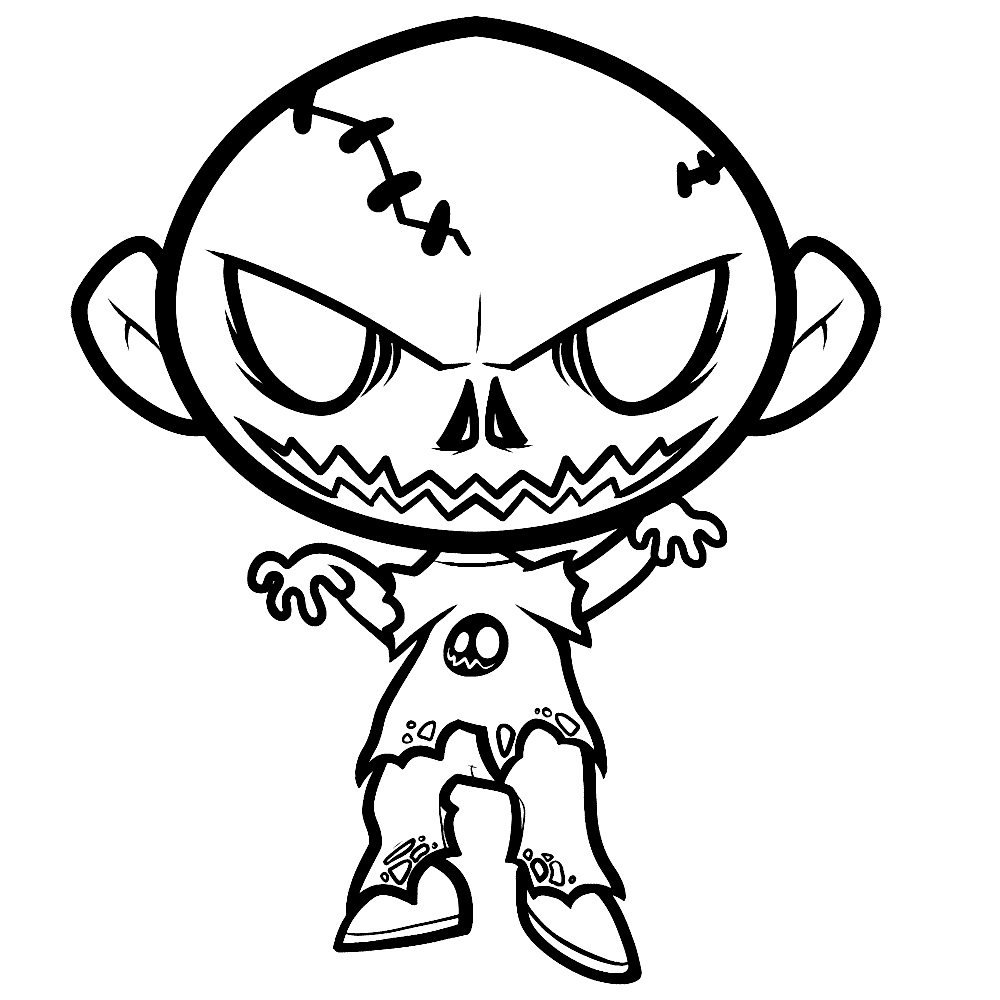
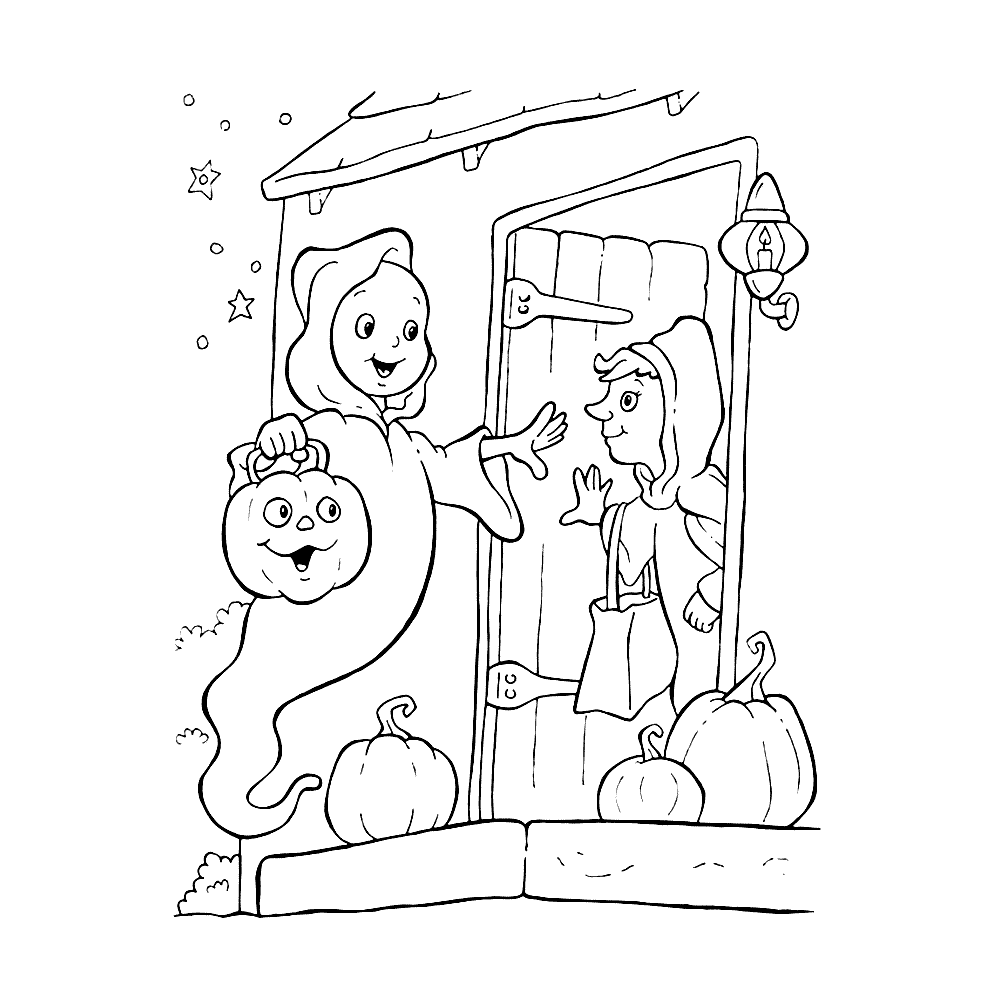
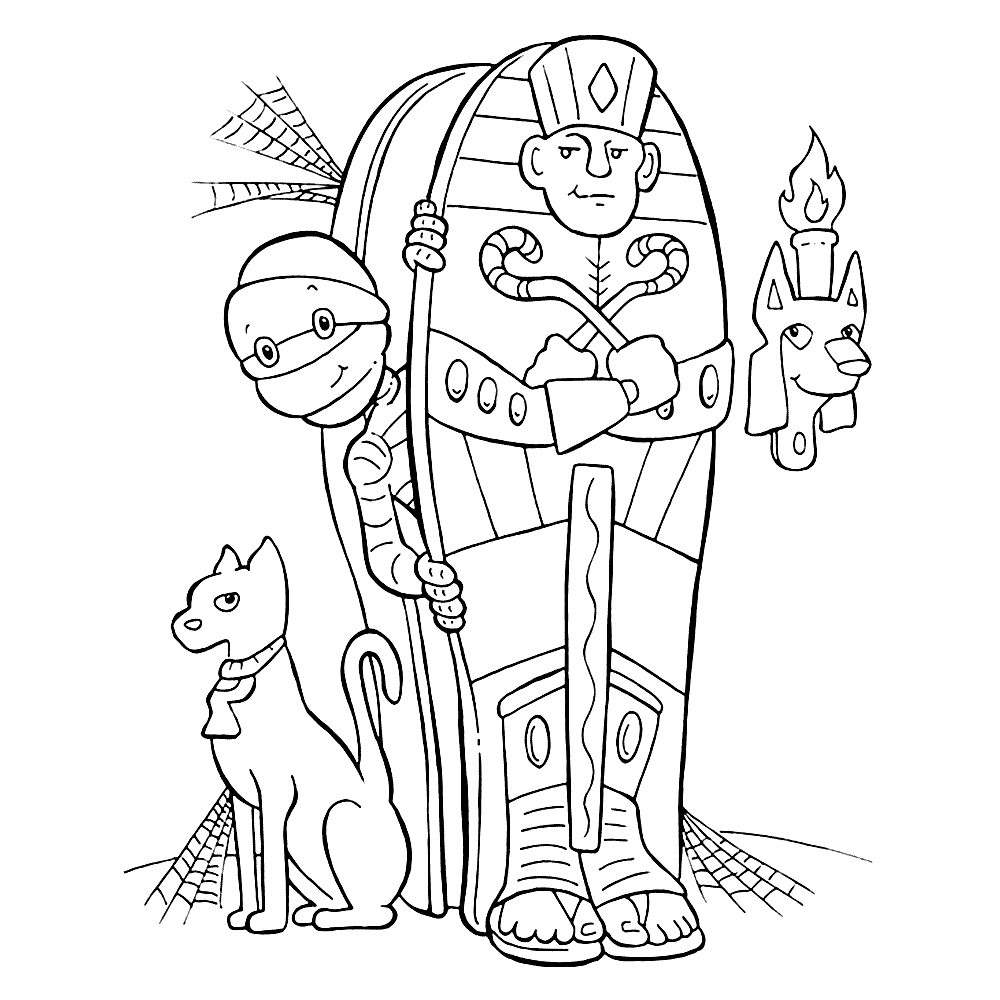
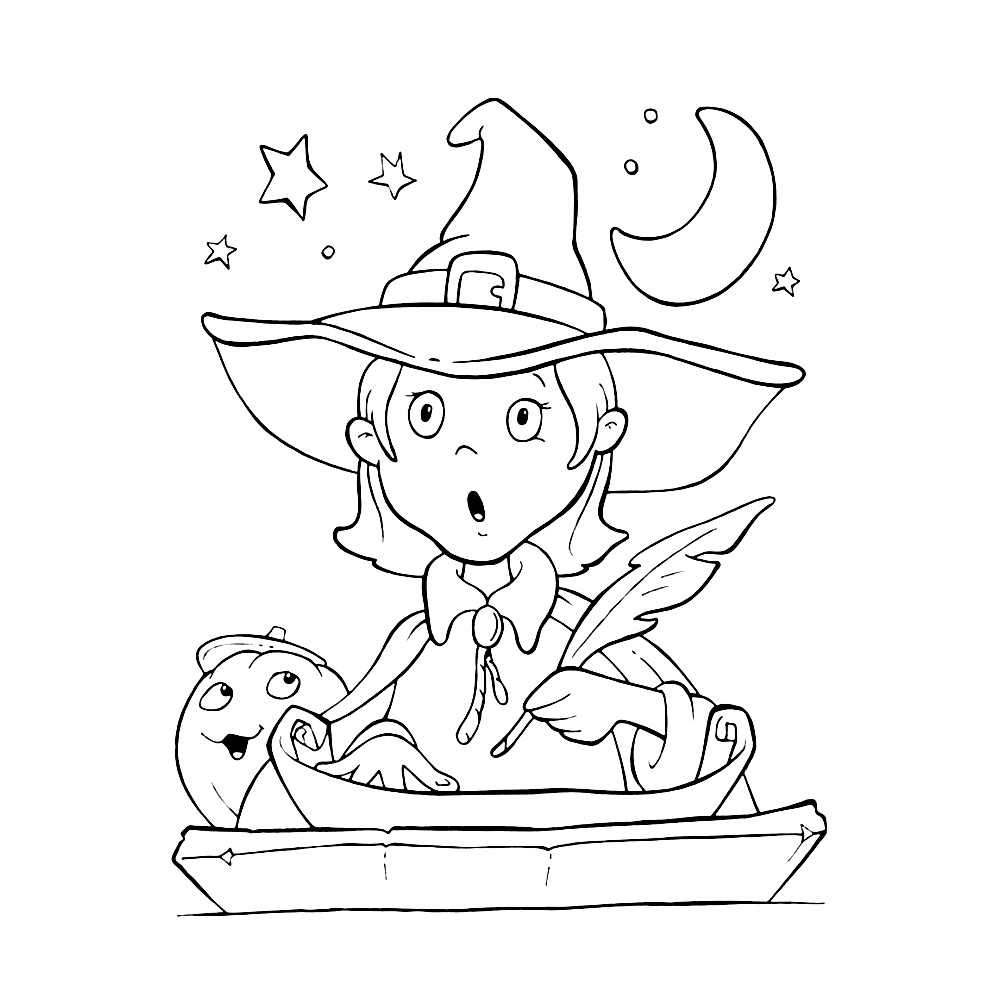
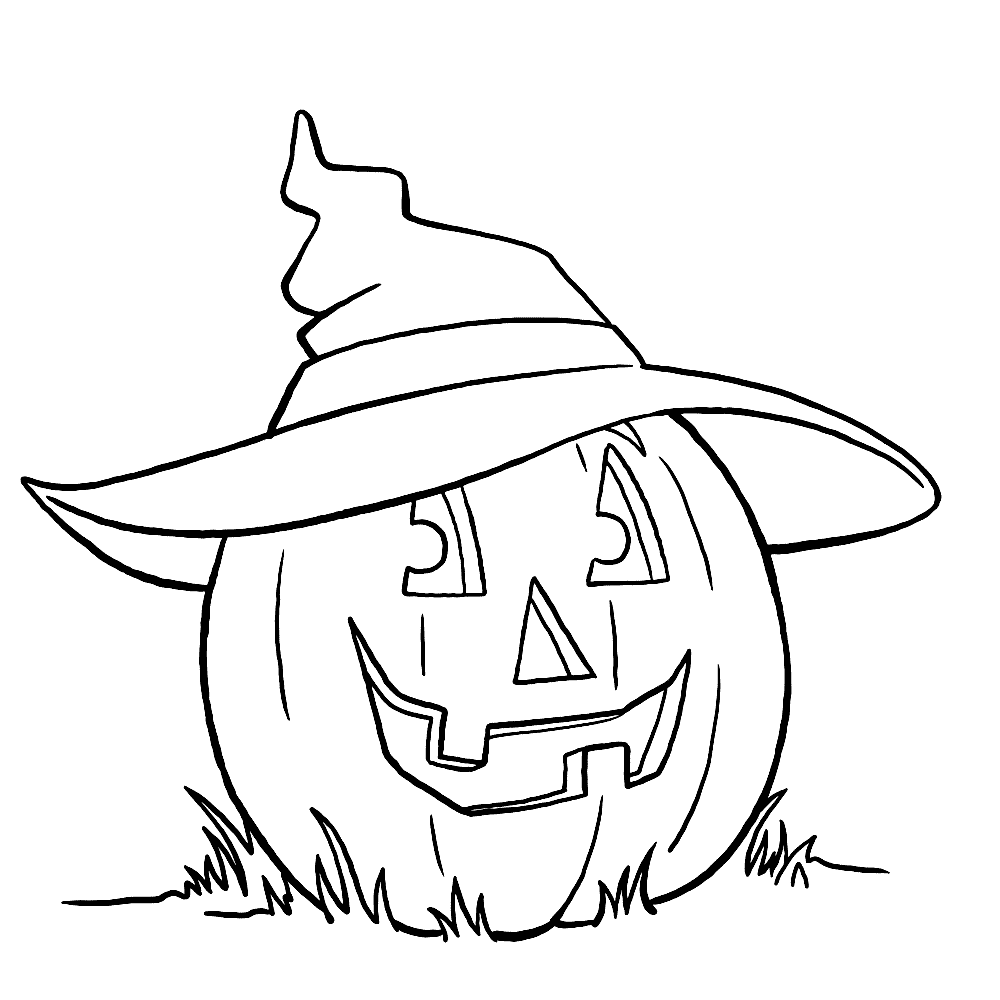
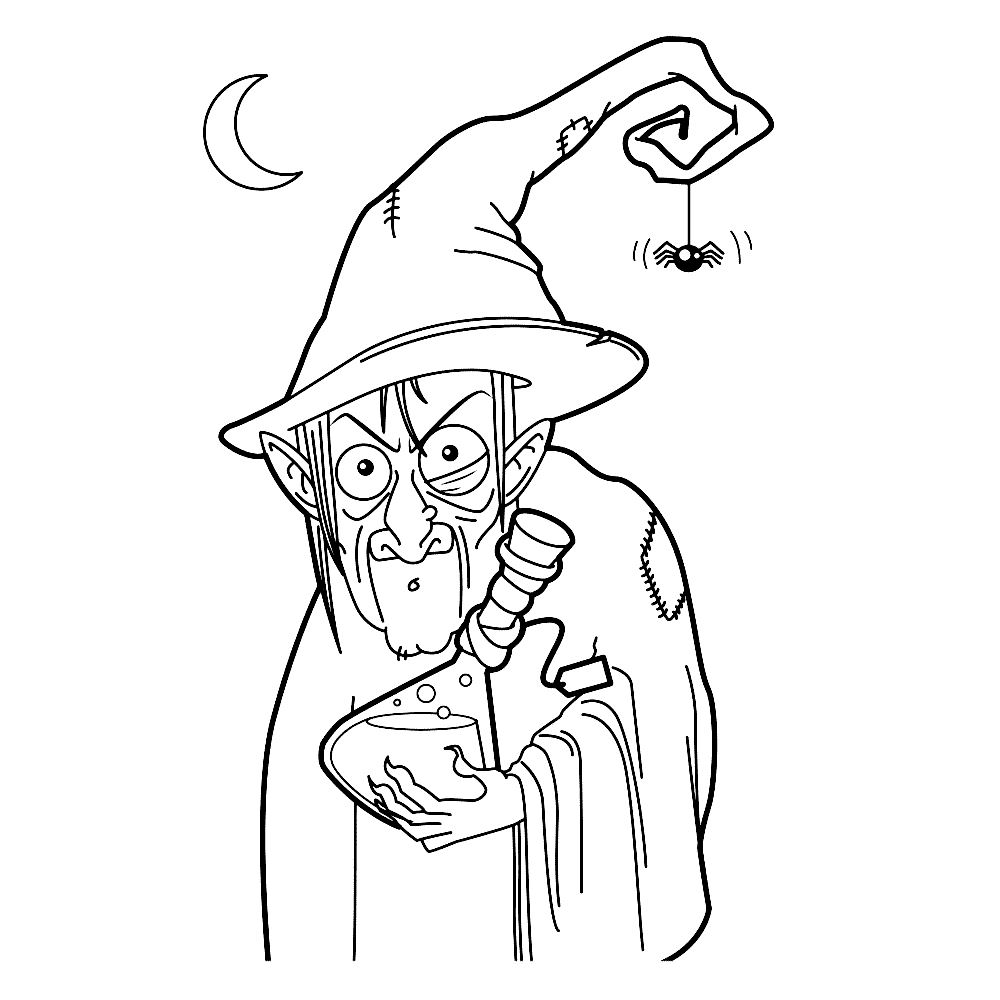
More creepy pictures? Here you can find all our Halloween colouring pages.
Tips or comments?
We hope you enjoyed our Halloween guide for kids. Do you have any nice tips or things that have to be included in our guide? Don’t hesitate to share them with us.